
How to make AI product videos from product photos
Make AI product videos from a product photo: first-and-last-frame control, slow camera-move recipes, a detail-fidelity checklist, and UGC-style variations.
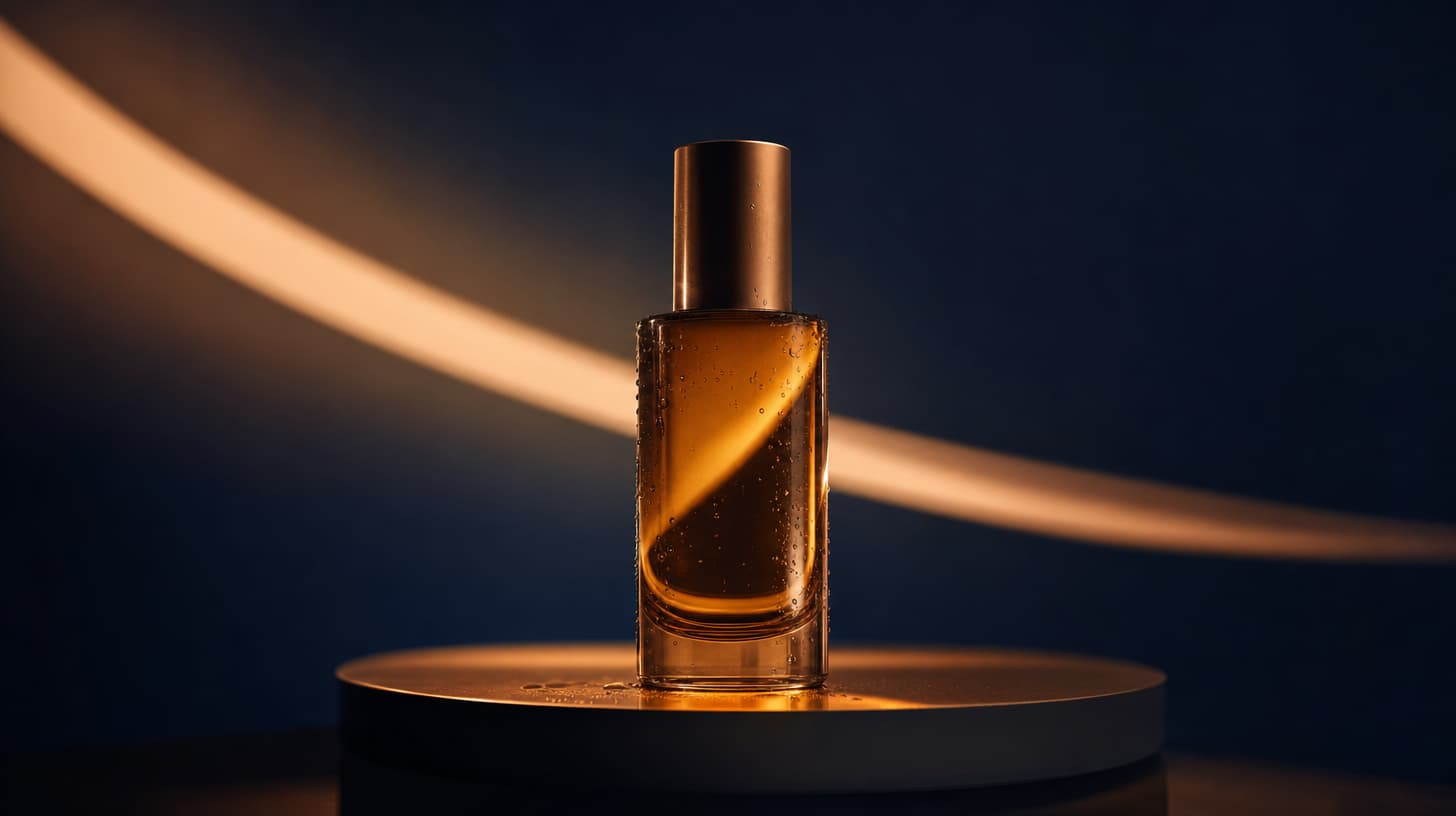
A good product photo already does the hard part. It carries the lighting, the angle, and the surface texture you spent real time getting right. The thing it can't do is move. AI product videos fix that by taking a still you already trust and adding controlled motion, so the bottle turns and the camera drifts across the logo. You are not asking a text prompt to invent something that resembles your SKU and hoping it matches. You are animating the exact photo you shot.
That difference decides everything downstream. Text-to-video guesses at a product; image-to-video moves the one already in your frame. This guide takes the image-to-video route from start to export: pick a clean source shot, pin the motion with first-and-last-frame control, keep the camera slow, and run a fidelity check before you publish. A UGC section at the end covers the handheld, spokesperson-style cuts that sell a product differently than a polished studio spin.
TL;DR
- Animate your real product photo with image-to-video so the clip shows the exact SKU you shot, label and all.
- First-and-last-frame control fixes where the motion starts and ends; feed it two frames of the same product and it fills the move between them.
- Slow beats fast for products. A 5-second push-in or a quarter orbit reads as premium, while quick moves smear labels and soften edges.
- Before export, walk the detail checklist: logo legibility, edge integrity, color accuracy, reflections, and any on-pack text.
- Native audio lays product sound into the same generation, a cap click, a liquid pour, or quiet room tone.
- UGC variants come from prompt direction: handheld framing, a spokesperson holding the product, a vertical crop.
How to make AI product videos from a product photo
Everything starts with the source frame, so pick the strongest one you have. Sharp focus on the product, a background you actually want in motion, and an aspect ratio that matches where the video will run. If the clip is going on a vertical feed, start from a vertical or square photo. The model animates whatever you give it, and a landscape still forced into a vertical slot gets cropped in ways you did not choose.
Upload that photo in image-to-video and write a short prompt describing the motion you want, not the product itself. The photo already defines the product. Your job in the prompt is to direct the camera and the physical action: "slow push-in on the bottle, condensation slides down the glass, soft studio light." Keep it to one clear move per clip. Two competing directions in a single 5-second render usually fight each other, and you lose control of both.
One habit saves a lot of credits: draft first. Generate the motion on the fast, cheap tier to confirm the move is right, then promote the winning prompt to a higher quality tier for the final. The Mini, Fast, and Standard tiers exist for exactly this draft-to-delivery step.
First-and-last-frame control for product motion
First-frame control animates forward from your photo and lets the model decide where the motion ends. That works for ambient movement like drifting steam or a slow orbit. For anything with a defined start and finish, give it both ends.
First-and-last-frame control takes two images, the opening state and the closing state, and interpolates the path between them. For products this is the strongest tool you have. Frame one, a closed jar; frame two, the same jar open with the lid beside it. Frame one, a phone screen off; frame two, the screen lit. Because you supply both anchors, the product stays your product across the whole move instead of drifting into something the model imagined.
Shoot or render those two frames so only the intended thing changes. Same camera position, same lighting, same background, one difference. If the lid moves and the label also shifts and the light temperature jumps, the interpolation has too much to solve and the in-between frames go soft. When the product has to sit inside a built scene with other elements, reference-to-video lets you feed several reference images and composite it in while holding its look.
Slow camera-move recipes
Products reward restraint. The moves that make an object look expensive are slow and short. Here are the ones I reach for, each written as the motion half of a prompt.
Push-in: "slow dolly push toward the product, subtle, camera never reaches it, shallow depth of field." The product grows in frame without the camera slamming into it.
Quarter orbit: "camera arcs a quarter turn around the product at a steady slow speed, product centered and static." A full 360 in five seconds is too fast and the label smears. A quarter turn shows dimension and stays readable.
Tilt reveal: "camera tilts up from the base to the top of the product, slow, even speed." Good for tall items like bottles, cans, and cosmetics.
Rack focus: "foreground blurred, focus pulls to the product, background falls soft." There is almost no camera movement here, just a focus shift, which keeps every edge of the product crisp.
The common thread is duration and speed. Standard generations run 5, 10, or 15 seconds, and a product move almost never needs more than the 5-second option. Slower always beats faster for legibility. If you want a single continuous take with more room to breathe, the Seedance 2.5 studio extends to 30 seconds.
A product-detail fidelity checklist
AI motion fails on products in specific, checkable ways. Run this list on every clip before you call it done, watching at full size and pausing on the middle frames where interpolation is weakest.
Logo and text: pause mid-move and read the branding. If the wordmark warps or the on-pack copy turns to mush, the move is too fast or the tier too low. Edges: check the product's outline against the background for wobble or melting, which is most visible on straight edges and hard corners. Color: compare a frame against your source photo, since motion sometimes shifts saturation or white balance. Reflections and highlights: on glass, metal, and gloss, watch that speculars move plausibly and don't crawl. Proportions: confirm the shape doesn't stretch or breathe as the camera moves.
When a clip fails one check, you have three fixes before regenerating from scratch. Shorten the move, because a slower, smaller motion gives the model less to invent. Raise the tier for the final render. Or, if only one segment is broken, take the good version into video-editing and repair the section instead of rerolling the whole thing. Most product misses come from asking for too much motion, so cut the move down first.
UGC-style variations
A studio spin and a UGC clip do different jobs, and you can make both from the same product. The studio version is the clean orbit on a plain background. The UGC version looks like someone filmed it on a phone, and that handmade feel is often what converts on a social feed.
Direct the UGC look in the prompt rather than reaching for another tool. Ask for handheld framing, a slight natural shake, indoor lighting, and a person holding or using the product. Native audio carries this style, since you can add a spokesperson talking to camera with multilingual lip-sync plus the ambient sound of a real room. A line like "a person holds the product to camera in a sunlit kitchen, casual handheld, they speak about it" gets you most of the way there.
Two more moves sharpen UGC output. For a series of clips with the same on-camera creator, drive them through reference-to-video with a consistent reference so the person doesn't change face between takes. And when the cut needs to land on a music beat, beat-sync-video times the edits to the track, which is what makes a fifteen-second product montage feel deliberate instead of arbitrary. Shoot the UGC vertical, keep the takes short, and let a little imperfection stay in.
Frequently asked questions
Do I need a text prompt if I already have a product photo?
Yes, but a short one. The photo defines the product, and the prompt directs the motion and camera. One clear instruction like "slow push-in, shallow focus" is enough. Over-describing the product you already uploaded tends to make the model second-guess your image.
What length works best for a product showcase?
Five seconds for a single move, which is what most product clips need. The standard tiers offer 5, 10, and 15 seconds, so use 10 or 15 only when the action genuinely has more to show. For one continuous take up to 30 seconds, use the Seedance 2.5 studio.
Will the AI keep my logo and label readable?
It can, if you keep the move slow and the tier high enough. Fast camera motion and low-quality drafts are where wordmarks warp. Draft cheap to lock the motion, render the final on a higher tier, and always pause on the middle frames to confirm the branding survived.
Can I get 4K product videos?
The standard tiers render at 480p or 720p. 720p holds up well on a phone feed, which is where most product clips run, so plan around it. Full 1080p and 4K are limited to the Portrait tier, not the standard product route.
How do I add sound to a product video?
Direct it in the same prompt. Native audio can generate the product's own sound, say a cap snapping shut or a soft mechanical click, plus ambient room tone, in the one render. Describe the sound you want the way you describe the motion. Music beds and voiceover you would layer on afterward still belong in your editor.
Can I make the same product video in a UGC and a studio version?
Yes, and you should test both. Keep the same source photo, then run two prompts: one clean studio move on a plain background, one handheld UGC take with a person and room sound. They read differently to different audiences, and it costs one extra generation to find out which performs.
Direct the motion, protect the detail
The whole method fits in a sentence. Start from the product photo you already trust, pin the motion with first-and-last-frame control, keep the camera slow, and check the details before you export. Products punish sloppy motion in ways portraits and scenery don't, because a warped logo or a stretched edge reads instantly as fake. Draft on the cheap tier, promote the keeper, and make a UGC cut alongside the studio one so you have both to test. When you're ready to build your first clip, open image-to-video, upload your best product shot, and start there. That is all it takes to make AI product videos that hold up frame by frame.
Further reading
- The Seedance 2.0 prompt formula — the slot structure behind the motion prompts here
- 50 camera movement prompts — options for the slow moves in this workflow
- Seedance 2.0 Mini vs Fast vs Standard — the draft-to-delivery tier ladder
Author

Categories
More Posts

Higgsfield Alternative: What to Use Instead (2026)
Looking for a Higgsfield alternative? A sourced comparison of pricing, credit expiry, unlimited-mode fine print, and when a focused Seedance studio fits better.
Seedance 2.5 Release Date: What's Confirmed So Far
The Seedance 2.5 release date tracked against official sources: the June 23 announcement, the July launch window, what ByteDance confirmed, what is rumor.

How to Get Consistent Voice in Seedance 2.0 Across Multiple Clips
Yes, Seedance 2.0 accepts voice references. Here's how audio reference input works, what it does and doesn't do for voice consistency, and the practical workflow for keeping the same character voice across clips.